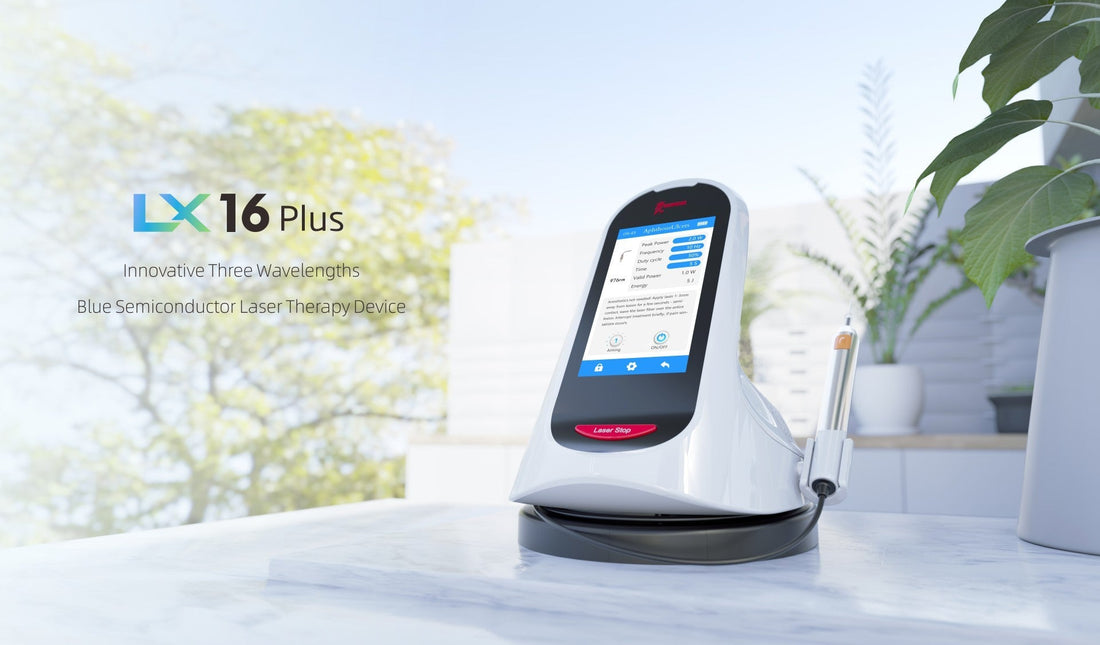
🦷 How to Sterilize and Disinfect the Woodpecker LX16 Plus Laser: Complete Protocol
Share
The Woodpecker LX16 Plus is an advanced dental laser system designed for multiple clinical applications, including periodontics, endodontics, and peri-implantitis treatment.
As with all dental instruments, proper sterilization and disinfection are essential to ensure patient safety, maintain device performance, and comply with infection control standards.
Below, we outline the official Woodpecker sterilization protocol and best-practice recommendations for cleaning and reprocessing your LX16 Plus.
⚙️ 1. Manufacturer’s Sterilization Guidelines
According to the official Woodpecker user manual:
- Autoclavable parts: The handpiece sleeve and fiber tips can be autoclaved to prevent cross-infection.
- Autoclave cycle: Use a fractional pre-vacuum steam sterilization process for at least 5 minutes at 134 °C (2.0–2.3 bar pressure).
-
Do not use:
- Hot air sterilization
- Radiation sterilization (ETO, formaldehyde, or low-temperature plasma)
-
-
Surface disinfection:
- Wipe the main unit and charging base with 75% medical alcohol (3 times) before use.
- After use, wipe with clean water or wipes (3 times).
-
- Packaging: After sterilization, store components in medical sterilization bags or sterile boxes. The sterilized components should be used within 7 days under clean, dry storage conditions.
🧼 2. Step-by-Step Sterilization & Disinfection Protocol:
|
Step |
Action |
Notes |
|
1. After use |
Flush and clean the fiber tips or irrigation channels immediately to remove debris. |
Prevents buildup and drying. |
|
2. Disassemble |
Detach fiber tips, sleeves, or other removable parts. |
Handle optical fibers carefully. |
|
3. Cleaning |
Use a soft brush and neutral or enzymatic detergent (≤ 45 °C). Rinse thoroughly with distilled water. |
Avoid harsh chemicals or abrasives. |
|
4. Disinfection |
Immerse parts in 75% alcohol or approved disinfectant for several minutes, then rinse and dry. |
Ensure compatibility with laser optics. |
|
5. Sterilization |
Place cleaned parts in sterilization pouches. Autoclave at 134 °C for 5 minutes (2.0–2.3 bar). |
Use pre-vacuum steam sterilization only. |
|
6. Cooling & Storage |
Allow components to cool, then store in sterile bags or containers for up to 7 days. |
Keep in clean, dry environment. |
|
7. Surface Cleaning (main unit) |
Wipe external surfaces with 75% alcohol before use and with water after use. |
Never autoclave or submerge the main unit. |
|
8. Inspection |
Check for damage, discoloration, or optical defects before reassembly. |
Replace damaged components immediately. |
Here’s a practical, step-by-step procedure you can follow in your clinic:
🧪 3. Important Safety Notes
• Only autoclave the parts specified as autoclavable (fiber tips, sleeves).
• The main control unit and laser base are NOT sterilizable.
• Do not use ultrasonic cleaners for the main device.
• Keep detailed records of sterilization cycles and monitor sterilizer performance using biological or chemical indicators.
• Ensure all operators are trained in infection control and laser device handling.
⸻
🇨🇦 4. Compliance and Best Practices in Canada
For Canadian dental clinics, always follow Health Canada and provincial infection control guidelines.
Each sterilization cycle should be validated and documented according to the RCDSO (Royal College of Dental Surgeons of Ontario) or your local dental regulatory authority standards.
⸻
🪄 5. Key Takeaway
Proper sterilization of the Woodpecker LX16 Plus ensures:
• Long-term reliability of your device
• Full compliance with infection control standards
• Maximum patient safety
Always follow the manufacturer’s instructions and reprocessing best practices for every dental procedure.
